Gunung Yong Yap via Gepeh

Distance: 19km 
EG: 1,800m
Rated: 6.5/10 

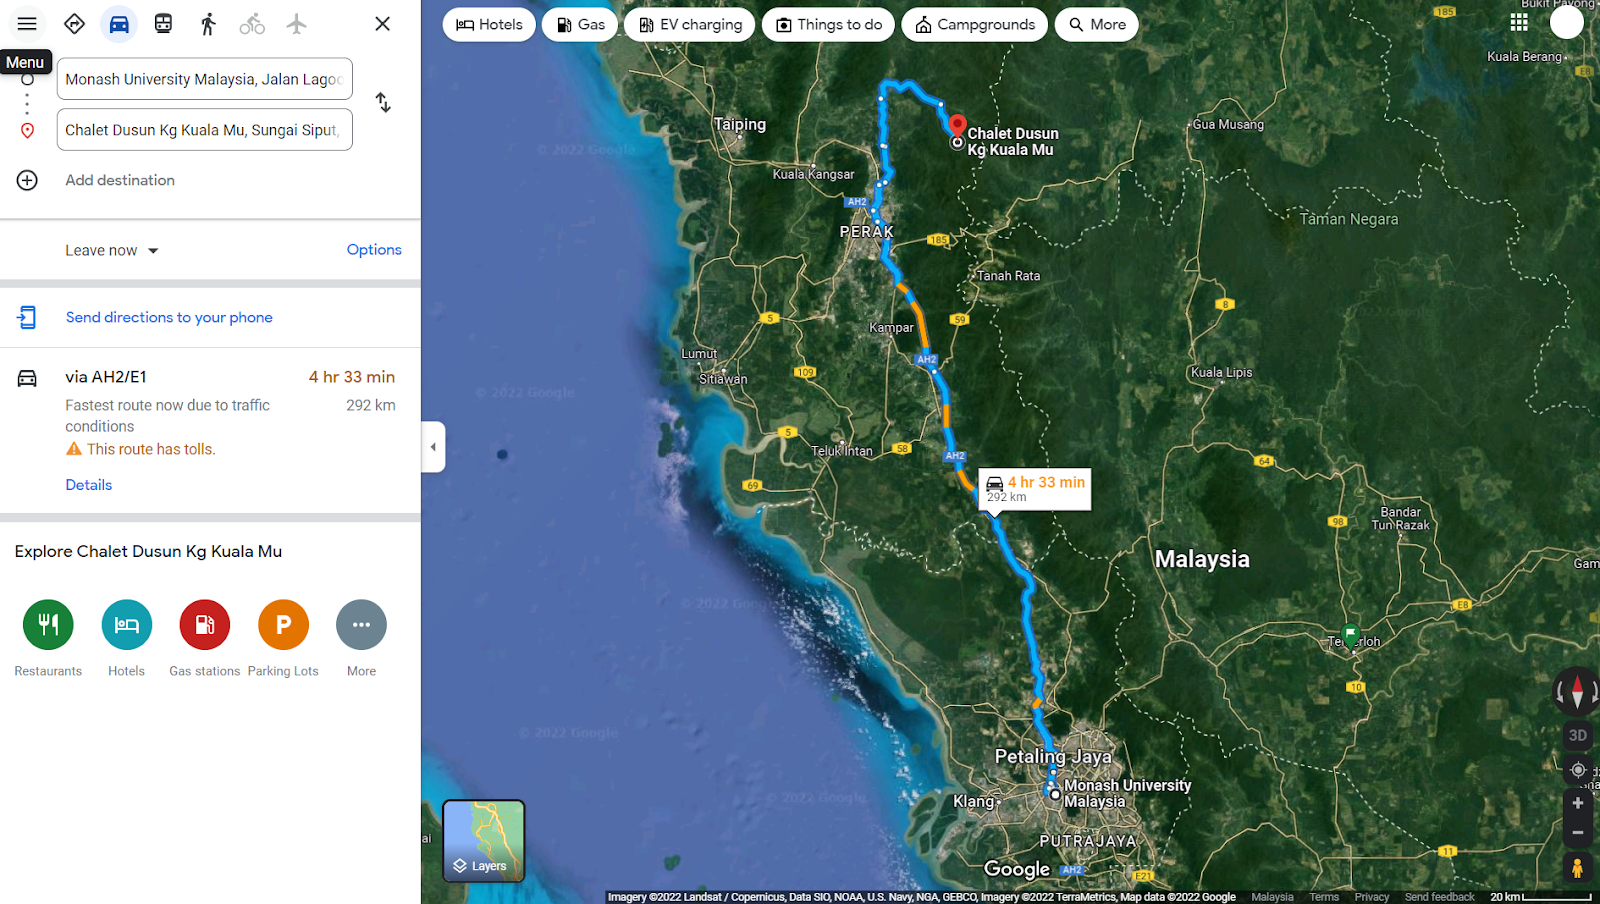
Gunung Yong Yap, it is the sixth tallest mountain in Peninsular Malaysia or also known as G6. Though, this trail is rarely used but it has been cleared since my last visit. The starting point of the trail head is at Kuala Mu, Sungai Siput. 

To get here, first you need to GPS to this location (this is our accommodation point though): "4.835847, 101.334941" or Chalet Dusun Kg Kuala Mu. Do note this isn't the starting point of the trailhead, we took a 4WD into the forest. (Also to note, we didn't take the original starting trailhead, there is a shortcut for this trail.)


Our 4WD route (It is runnable if you to save money on 4WD)
GPX: (https://www.dropbox.com/s/lpr5z6u5r1i5a9n/Yong%20Yap%20Gepeh%204wd_ride.gpx?dl=0)

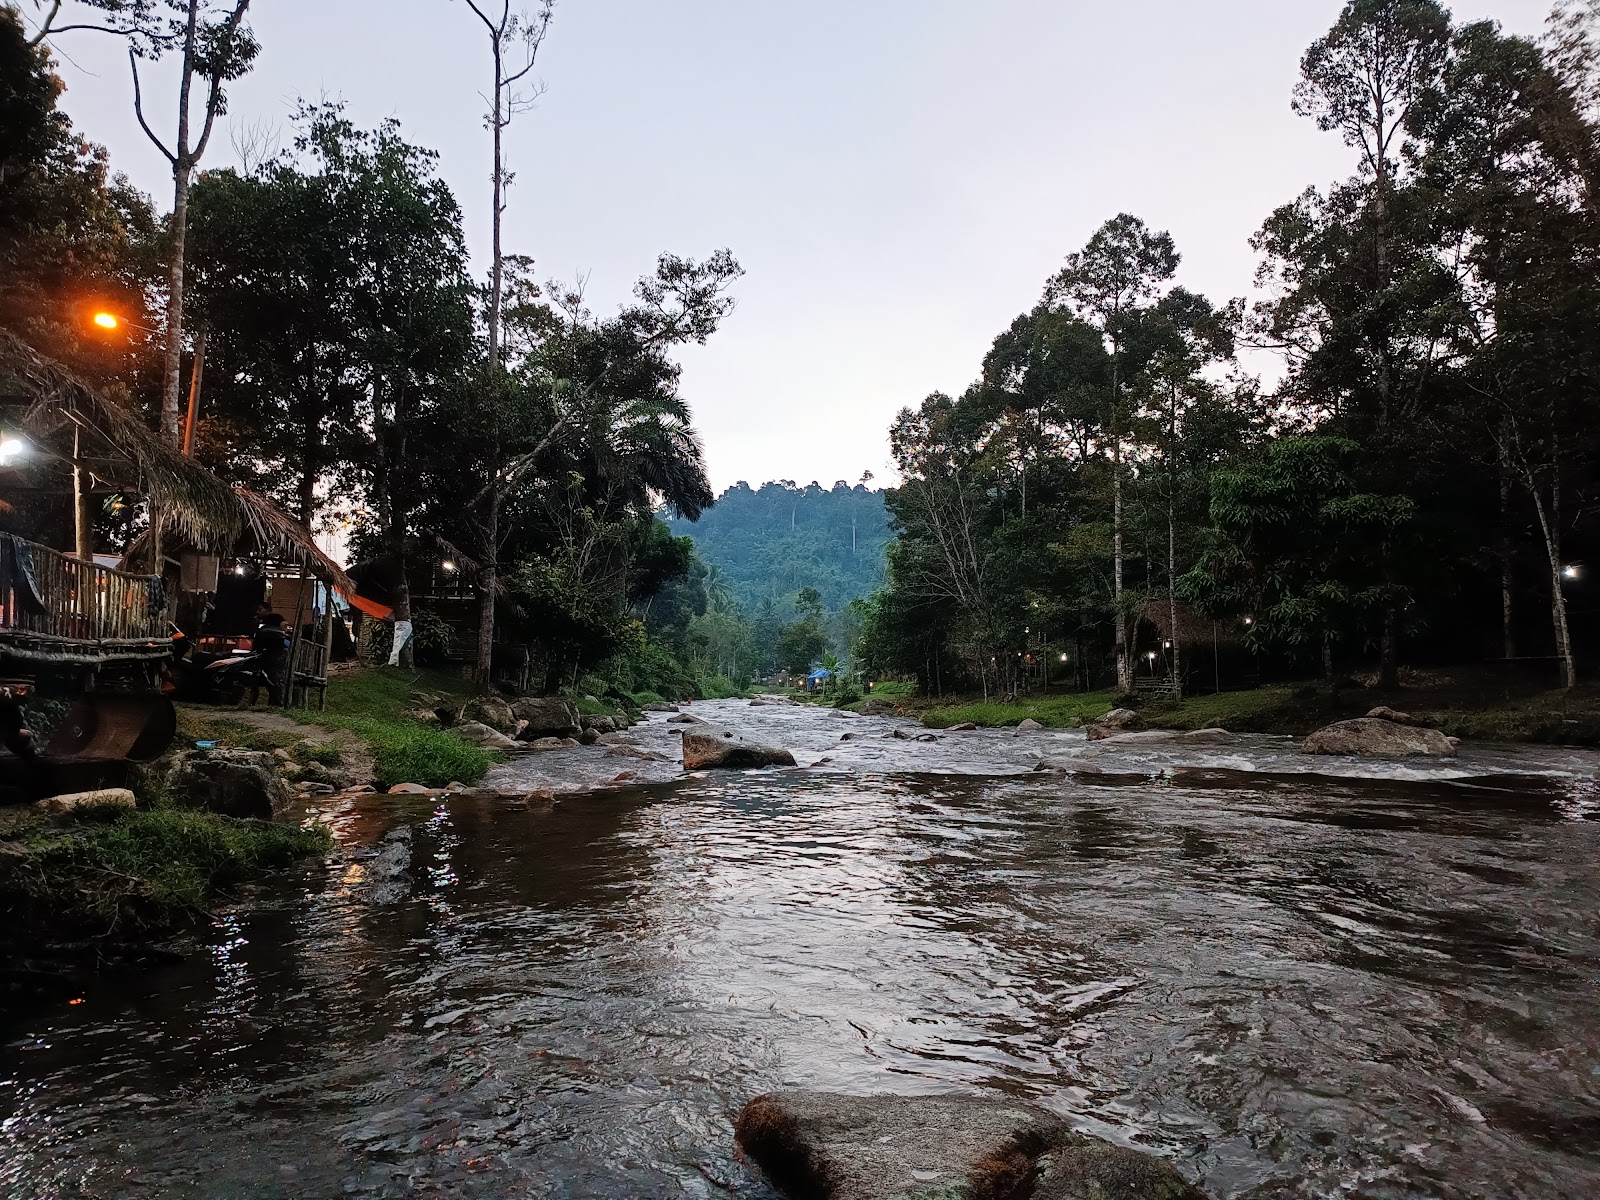
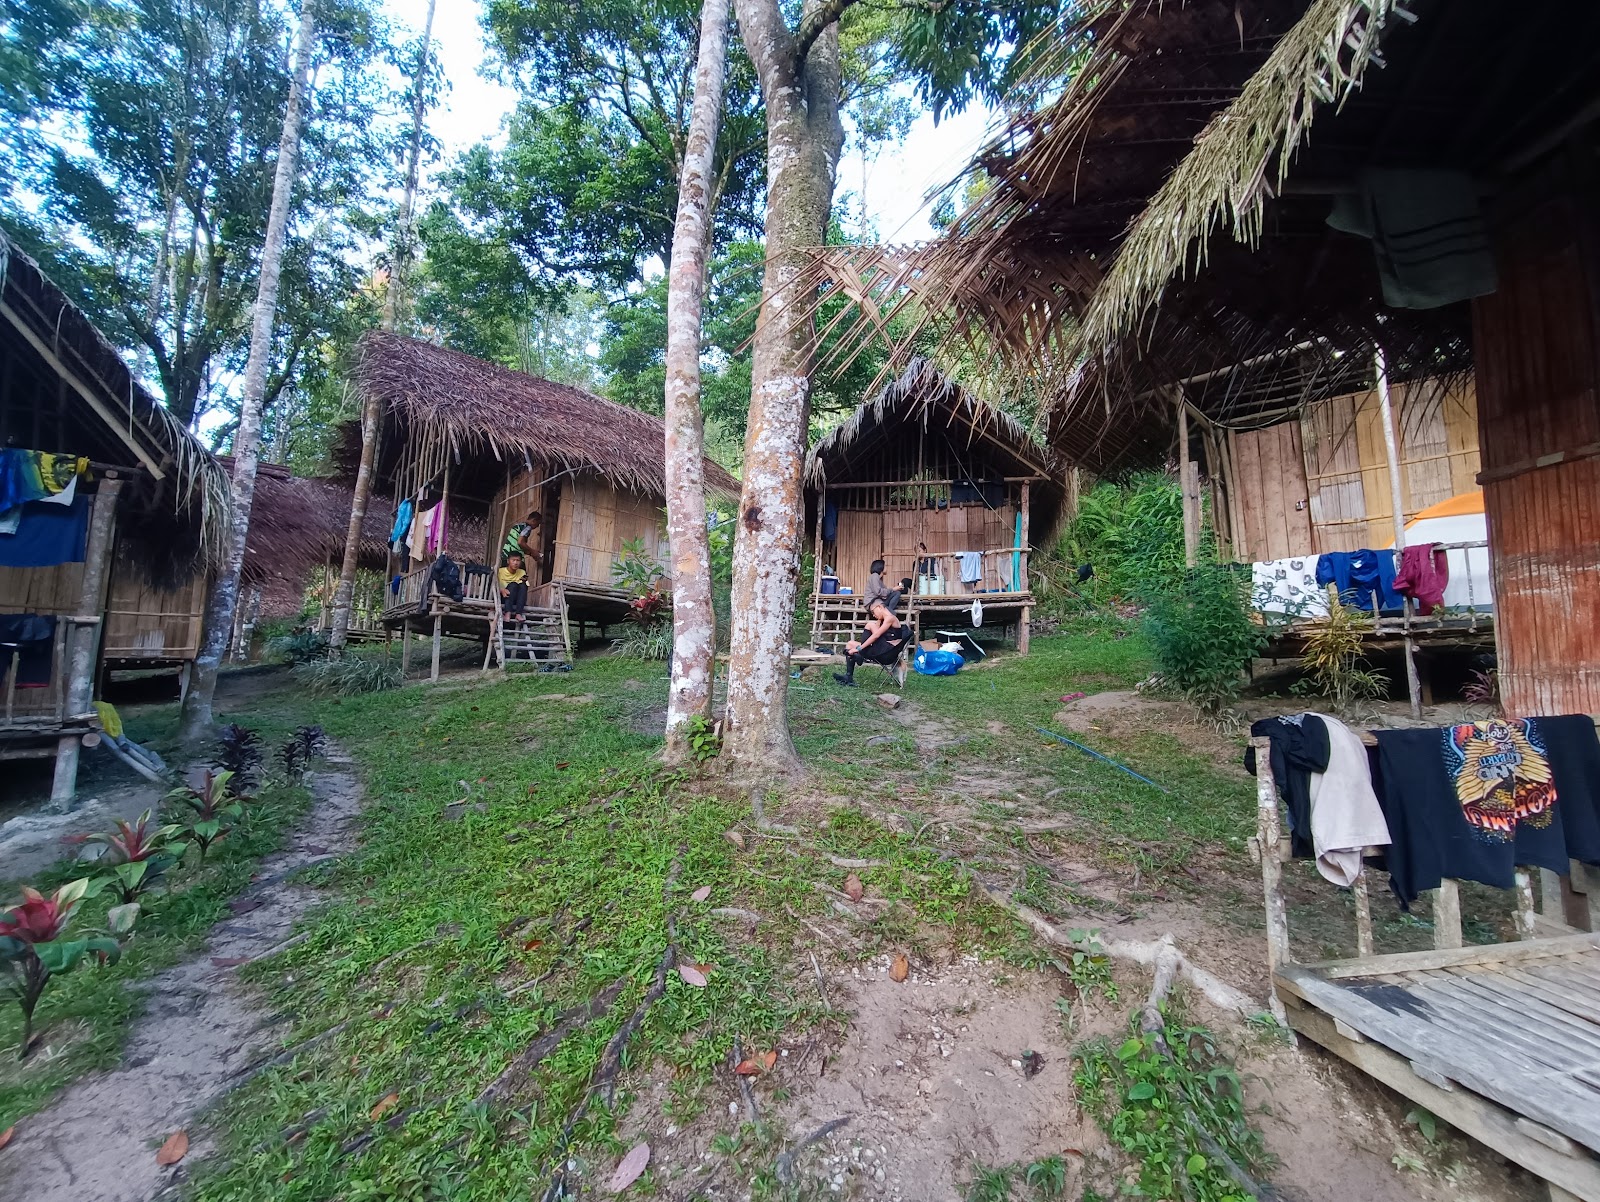
Since this point is our accommodation area, all public facilities is available but the trailhead has nothing. Side note: this trail is well known to have a lot of wild and not-so-friendly animal, to take pre-cautions during  hike. 


https://www.strava.com/activities/7634628310
GPX File: https://www.dropbox.com/s/bhnjvbxtt2ttwze/Yong_Yap_via_Gepeh.gpx?dl=0

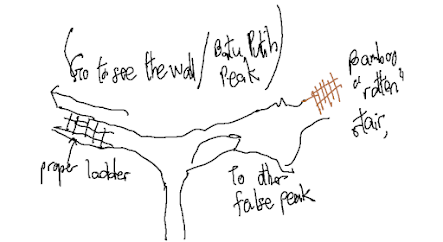
This trail is only 19km which is less than the Pos Rengil trail by two times. It definitely make Yong Yap so much easier to conquer.  The trailhead isn't obvious though, would be best if you bring someone who is familiar with the trail first. But once you find the trail, it straightforward all the way without much junction. The only junction to take note especially when returning is between starting point and Camp Sungai Chinak as this junction will bring you to the original starting point of the trail (around 3km).

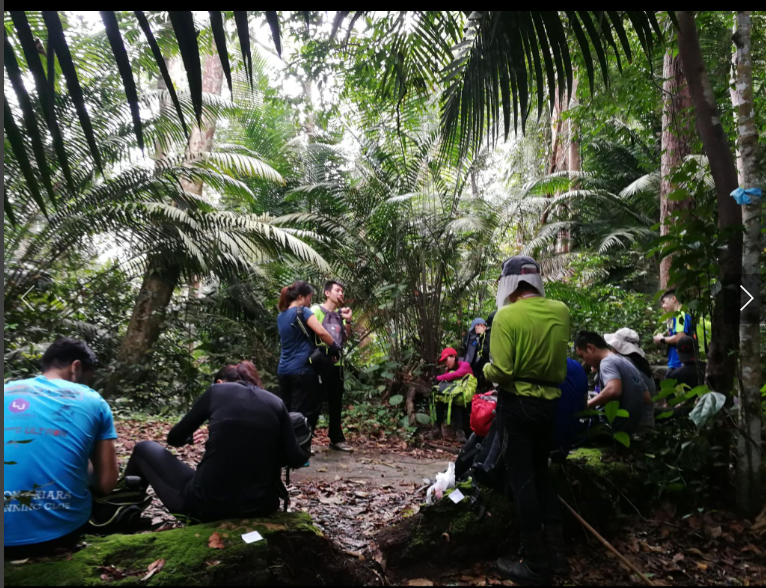
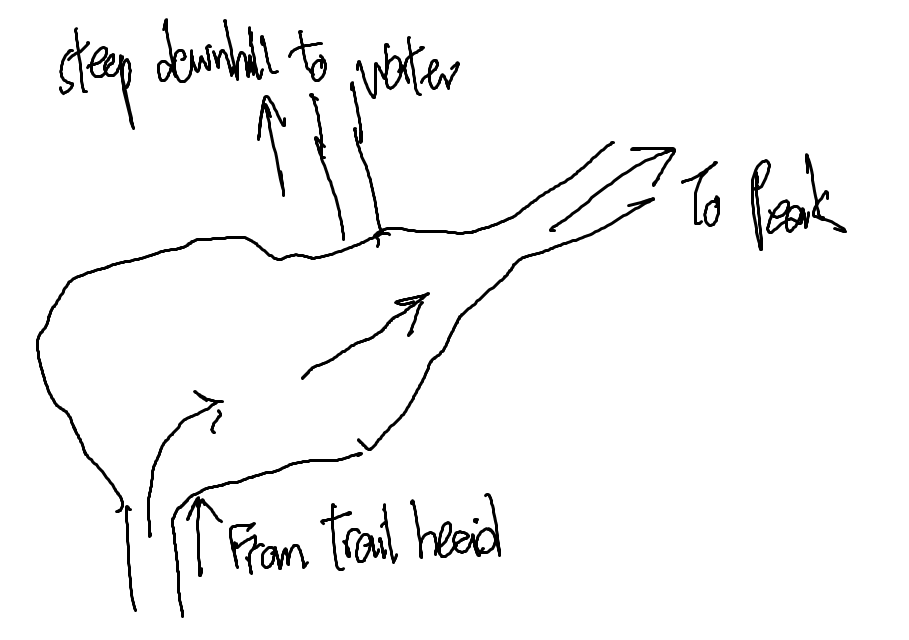
After 5km, you will reach Camp Sungai Chinak, although there is a "water point" on top, it best to refill here for the trip as that "water point" have to walk a distance for it. There are hiker who camp here to and is a big area. 


Camp Sungai Chinek (this video is the returning trip though)


Camp Sungai Chinek


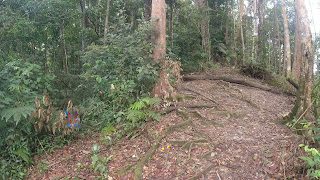
After this campsite, it a straight climb to the peak.


Checkpoint to take note:
Starting Point
~3km - Junction
~5km - Camp Sungai Chinek (refill here)
~7-8km - Last Water Point (didn't bother checking where the water point though)
~9.5km - Summit.

The return trip do be fun though as you will climb a good 200m+ before reaching the end of the trail.

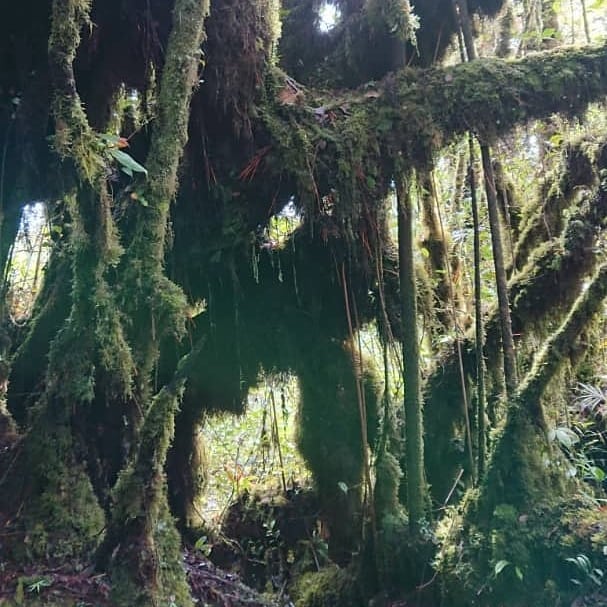
There isn't much to say about this trip as the whole trip is just hiking up the mountain, at least there mossy forest to see. If you want to stamp your G7 trip, this trail is really a shortcut to it. But as last mention, please take note of wild animal here.

PS. 4WD that day: +60 12-451 5550, Den under S.O.S.

Last edited:
13th August 2022


Gunung Batu Putih via Kuala Woh

Distance: 27km
Elevation Gain: 2,100m
Rated: 7.0/10


Gunung Batu Putih, 2,131m is the 8th tallest mountain in Peninsular Malaysia. This mountain is not an easy one despite it distance shown isn't a lot, it a technical mountain. You can choose to either dayhike or camp 2D1N. 

GPX (river crossing without Gua Batu Azam and Camp Anaconda Water Point)
https://www.strava.com/activities/1873092546
GPX Link: https://www.dropbox.com/s/93yo4sdqdrjnfaj/Gunung_Batu_Putih.gpx?dl=0

GPX (bridge rover crossing with Gua Batu Azam and Camp Anaconda Water Point)
https://www.strava.com/activities/6960702820


The trail head is at "https://goo.gl/maps/QdKaWMUAyRmuPAHP9" or Pos Kuala Woh, Tapah can be set as location point. Permit needed and don't really have public facilities here with limited car park space. There is a water tank here to wash-up but not guarantee to have water at time.


Trail Head/Car Park

Toward Pos Kuala Woh

Car Park Area


Not far from the start of the trail head is their kampung. The road here can be confusing but one can ask around the village to find the trail start. (Side note: there are other group who will visit this pos initially to hire orang asli guide to bring them up the mountain. For now there is not need for guide but please make sure you know how to use GPX or someone know the trail well.)

Rough map around the kampung to Batu Putih
(may not be accurate...)


After 2km, you will meet a river which isn't fun to cross and is preferred to use the bridge, although you will have to detour a bit.


The River Crossing, but it isn't really safe to cross. Extremely recommend you to walk a bit more (3) to use the bridge (It not scary as a lot always said zzz)

Even during normal season, there is a river which can be quite tough to cross, unless you have some rope or someone who is very experience with fast-moving water river. 


River Crossing (1)
For no. 2, it pure walk waist deep into the strong current river.


Bridge crossing which is safer to cross the river. (Cross one at a time)

One of the well known camping spot is Camp Balak (There two Camp Balak, one is nearer to the river crossing and doesn't have sign board, 6.5km+. The other one is the main camp area where most will camp, 8km+).
Camp Balak 1 (6.5km) 

Camp Balak (6.5km)


Camp Balak 1 (6.5km+)


Camp Balak (8km)

Camp Balak (8km)


Roughly at 10km, you will meet a junction that if you turn left, you will head toward Gua Azam. The trail isn't fun to hike in as rarely hiker go in. The last time I headed in, needed knife to cut through the fallen branch and others. There is also other junction not to far, but it a very steep trail but much shorter. 

Gua Azam location is where my GPX run-off. (800m from the far end, 400m from the near end)

The junction is the one with the tree blocking.

Gua Azam

This place can't fit your whole kampung of hiker so if you decide to camp here, bring only a few. Comfortably you can fit at least 2 tents here. The cave floor is at an angle which your tent may slip off the cave. There is water source here which is some walk from our camp site.


Water Source

Gua Azam


Rough Layout of Gua Azam
At the camping ground, can walk around (behind) the cave to explore.


 Around 1.5km (11km+) after the junction is the false peak where you can see the wall. Also, turning right at this junction technically can bring you up the other false peak, but don't really recommend as there no safe way to reach up there. Before you reach this junction, there is alot of high ladder to climb but 


False Peak view


After 2km (13km+), you will reach Camp Anaconda, you can camp here too but most people do that only if they are doing Trans-Batu (this Trans doesn't exist anymore sadly unless you reversed after the last peak of the 3 peak of the trans). There is water source here but you have to walk some distance and climb ladders downhill to get it.


Camp Anaconda


The trail down the water source


Rough layout of Camp Anaconda


After this is a 2km+ (14km+) shoot to the peak with it surrounding mossy forest.


For typical dayhike, it can take from 9hrs - 19hrs depending on your endurance. 

Last edited:
22/5/2022


Gunung Yong Belar - 3 Boundary (via Camp Kebun)

Distance: 21km
Elevation Gain: 2098m
Rated: 7.0/10


Gunung Yong Belar - 3 Boundary also known as YB3B is a trans-hike from Camp Kebun to Blue Valley Dam (though the ending point for us is not at the stair...) The distance difference between just Yong Belar and YB3B may look the same, but the route is a completely different story. Do not underestimate this route as many I know did so and paid the price of having to hike in the dark...

The hike up to Yong Belar from Camp Kebun is the same as the following blog:

https://www.strava.com/activities/3101214614
GPX Link: https://www.dropbox.com/s/7kvs4x6ap24czve/Yong_Belar_Charlie_3_Boundary_6040.gpx?dl=0


The trail from here onward isn't the same as the trail from Camp Kebun. It actually more identical to the route toward Trans-Titiwangsa V1. It not as muddy as it is and it actually very beautiful. Though do take note as this route is rarely taken by hikers, it can be raw and trails might closed up. 

It best to bring someone who is familiar with the trail as even the trail nearing the end also known as the pipe road can be confusing. It does have markers but at night, they are not easy to spot. Even though we reach this part of the trail with lots of daylight, it still wasn't easy to track the marker. 

Trail Junction at Yong Belar Peak

The first stop from Yong Belar is Camp Gurkha which is 4.5km. But don't let the distance fool you, the trail is technical and the "dragonback" like trail will tire those who are not prepared. During our time, we were very lucky that the trail was already cleared by another group of hikers beforehand. Typically, it may take up to 5 hours just to reach here if you rest and stop a lot. 

The whole trail is a mossy forest heaven till Camp Gurkha, do take your time to enjoy it.


After 4.5km of hiking you will reach Camp Gurkha, do refill your bottle here as there won't be any more water source until near the end of the trail. Do rest and eat here as the climb of up and down starting here.


Camp Gurkha Site

After that, it a 1.3km climb up to Gunung Challi. typically may take up to 1.5 hours to reach the peak.

Gunung Challi

There isn't anything much up on this peak though. We eat for a while and went straight for 3 Boundary Peak as there has 360 view. After 1.5km of hiking down and up through the beautiful mossy forest, we finally reach 3 Boundary Peak where the view is amazing... Well, sadly not for our case as it was cover by a piece of A4 paper.

3 Boundary Peak

The next and last checkpoint is Gunung 6040 which is 2km away. With more up and down and false peak, it only a matter of time we reach the last peak. Typically, it will take up to 3hours just to get here. 

Gunung 6040

Like Gunung Challi, there isn't much here to see either but at least the forest trail toward here is still beautiful. And at least from this point onward, it only downhill to the trailhead, 4km of downhill. Though the trail still does remain fairly technical so it still not easy going fast. It is almost impossible to run especially at the trail full of pipe. As mention before, the trail is fairly well marked but once you reach this part in the dark, please be on the lookout as there is quite a number of fork-road. I stop taking pictures from Gunung 6040 as my phone was dying...

The endpoint of the trailhead is a tar road where if you head left, you will go to the Blue Valley Dam and a right turn will bring you out near Masjid Loijing.

Trailhead of YB3B (4.5km, not 3km*)

Overall, it a very nice trail to hike on but you have to be prepared and fit to finish the route. We started at 3am from Camp Kebun and end the hike at 5pm, though we could have finished it 2 hours earlier but sometimes waiting for your group is also part of the mental training. 

Yong Belar peak -- Camp Gurkha (3-5 hours) -- Gunung Challi (0.75 - 1.5hours) -- Gunung 3B (1-2hours) -- Gunung 6040 (1-3 hours) -- Trailhead (2-4 hours)

Last edited:
17 May 2020